
Lawn edging is an overlooked lawn care practice, but it is what gives your lawn a clean look and boosts kerb appeal. It separates your garden beds, pavement, and driveways from the grass and creates a clean, physical barrier. With proper edging, your garden looks sharp, well-maintained, and professionally landscaped.
Lawn edging is not a one-day task. However, once it’s done correctly and effectively, your lawn will greatly benefit from it. This lawn edging guide will discuss various types of lawn edging, provide instructions on how to install them, and offer maintenance tips.
Types of Lawn Edging
Before getting to the step-by-step lawn edging guide, it’s recommended that you take some time to decide what kind of edging is suitable for your lawn and what you want to establish. Here are some common types of lawn edging you can try at home.
Natural Edging
Natural edging means digging a clean vertical separation between the turf and the garden bed. It’s a cost-effective, eco-friendly edging technique. All you need is a few hand tools and some physical effort. The edging looks clean and traditional, but it gives your lawn a golf-course look.
If your lawn already has flowers and plants, you may dig a trench in that specific area to separate it from the rest of your lawn. If there are no plants, pick an area, mark the line, and dig the trench. Then use spades or rakes to remove debris and loosen the soil.
You can also plant flowers, shrubs, or other plants you would like to see in your garden. Last but not least, don’t forget to maintain the trench and trim this natural area periodically.

Stone Edging
Another recommended lawn edging idea is stone edging. You may use natural and engineered materials, such as natural stone, cobbles, and setts. It's a long-term or permanent solution and does not require maintenance at all.
Stones tend to be weather-resistant and built to withstand the test of time. Also, they are available in a variety of shapes, colours, and textures, making stone edging an excellent decorative method to customise your landscape design.
If you use small stones, the entire process can be time-consuming, but you will likely achieve an elaborate and elegant look. Whatever style, rustic or formal, stone edging is a good choice.

Metal Edging
Compared to natural edging, metal edging requires minimal maintenance. Most metals are highly resistant to water, sunlight, and other weather elements, making metal edging a timeless and robust solution.
Steel and aluminium are two metals commonly used in edging to create neat, durable, and defined separations between different areas, as they are lightweight and easily accessible.
In some cases, you can bend and shape the metal into various curves and angles to complement your garden. However, metal edging can be more expensive and may require precise installation to avoid sharp edges.
Brick Edging
Brick edging is quite popular in the UK, and it gives your lawn an incredible appearance. It has a clean geometry and rustic colour, which makes it more noticeable.
It has a low to moderate cost. You can opt for standard paving bricks or clay bricks. It gives your lawn a warm, traditional aesthetic, and it also lasts about 25-50 years. Moreover, it does require minimal maintenance.
During installation, you can lay the bricks flat. Match the ends and sides and perfectly level each piece with the turf. Secondly, you can install them vertically and keep them a bit above the lawn. It looks like half buried in the soil. Some garden owners also like to install angled bricks to create a sawtooth pattern.
It's affordable, long-lasting, and aesthetic. The only issue is that it requires heavy manual installation.

Wooden Edging
Wooden edging, by contrast, is a different style. Generally speaking, common materials include timber, logs, or even reclaimed wood. Given the texture and colour of the material, wood edging typically provides a warm and rustic aesthetic that makes your lawn appear more natural and refreshing.
Additionally, wood is quite affordable and can be cut and shaped to create various curves and lines for flexible design options. And it’s pretty durable, particularly woods that have been treated to resist decay and insects. If you use untreated wood, monitor its condition closely. Regular maintenance may be required to prevent rot.
Rubber and Polymer Strips
Another type of edging that lawn owners use is made of rubber or polymer. Usually, they are made from recycled materials.
They are ideal for DIY edging. You get a perfect edge in no time. Just unroll the rubber or polymer strip and press it into the soil. There is an anchor or sharp spike at the bottom to make it easier. You can also join the strips through interlocks.
It's a budget-friendly option and lasts about 8 to 15 years. The best part is that there are plenty of colour options and textures. You can even use them in intricate curves as they are highly flexible.

Step-by-Step Lawn Edging Guide
Once you’ve made up your mind on choosing which kind of lawn edging, it’s time to prepare and get started.
1. Mowing Before Edging
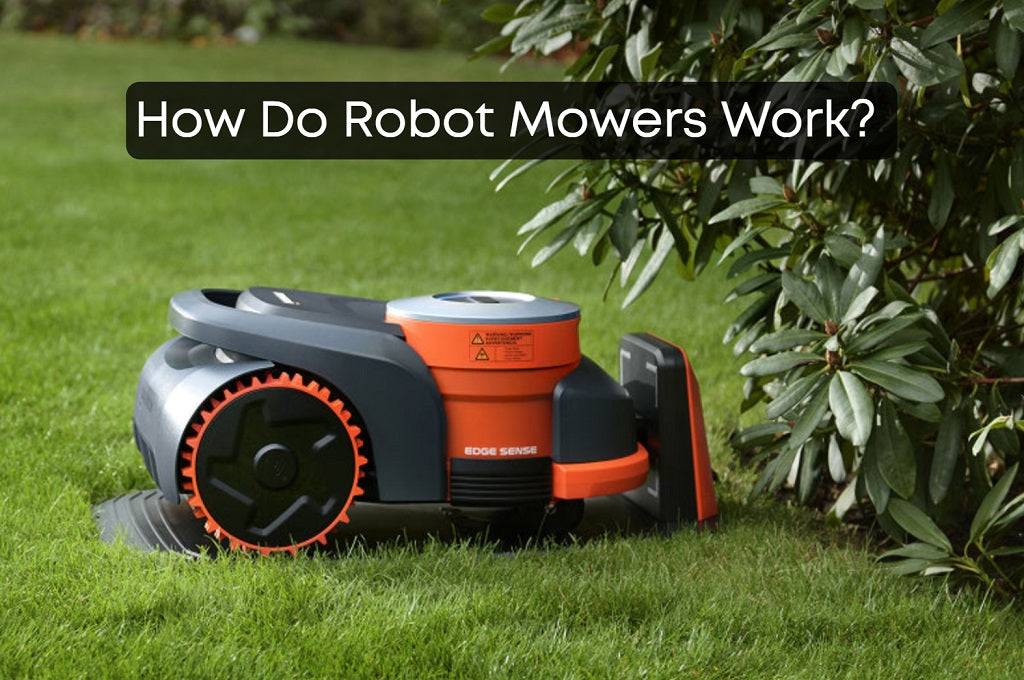
It’s recommended to edge after you mow. Short grass will be easier to clean and trim during edging, helping to keep the boundaries crisp and sharp. The whole lawn edging process could be labour-intensive, so you may want to save time and effort on mowing. And what could do that better than a robotic lawn mower?
A robotic lawn mower allows you to tap a button via the dedicated app on your phone or set up a schedule to command the robot to autonomously mow the lawn.
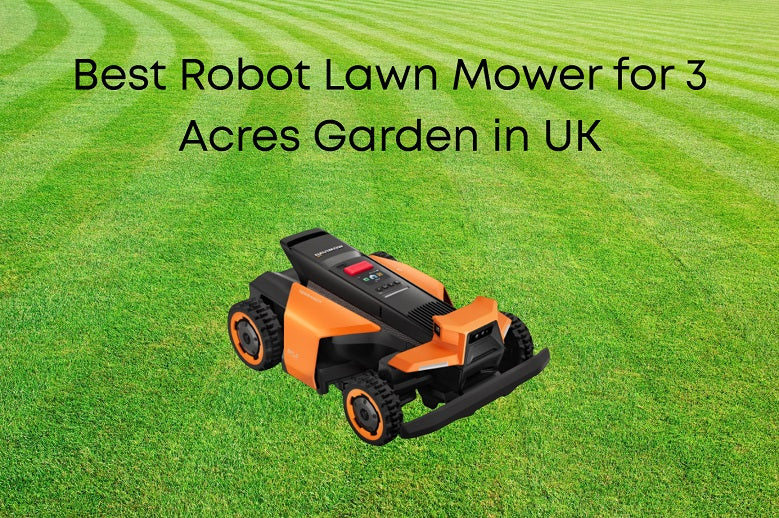
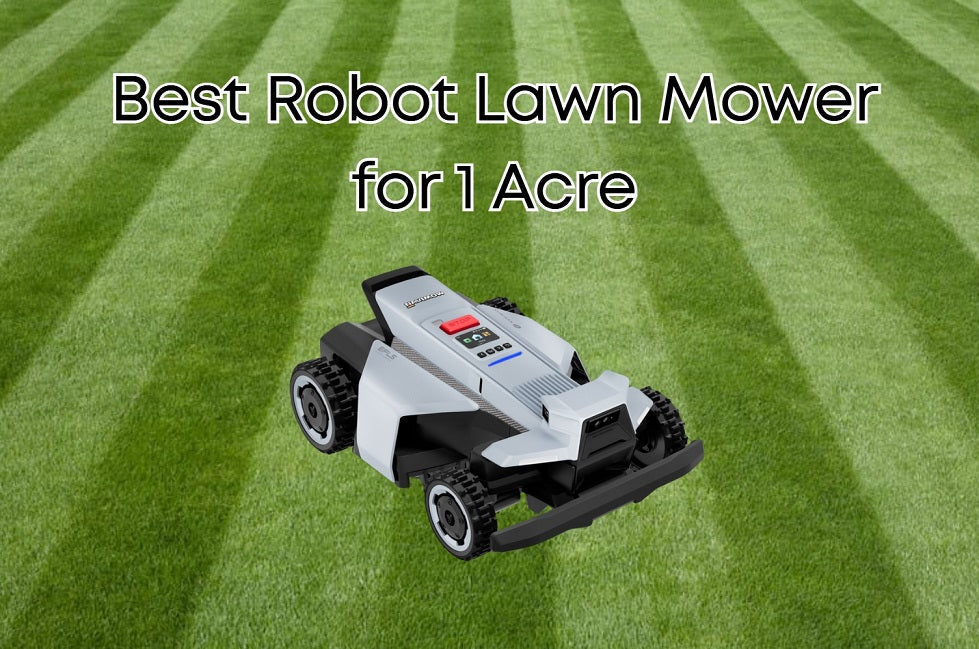
If you’re looking for one, consider the Navimow i2 AWD. This affordable and reliable mower is equipped with advanced navigation technology and smart sensors that enable it to precisely and automatically map and define the boundary of the mowing area and avoid 150+ obstacle types while mowing. With its large wheels and innovative traction system, it features a slope-climbing capability up to 45% (24°). And it works so quietly, with a noise level of 59 dB (A), that you can even mow without disturbing the neighbours.

2. Planning: Mark the Outline
Think about the edging idea you want to implement. Use a string or a garden hose to outline the desired shape and design of your edging. This will give you a visual representation to follow. Once you’ve decided on the layout, you may mark the outline by sprinkling flour or using spray paint to create a clear boundary.
3. Preparation: Clear the Area & Consider the Soil
Get your lawn care tools and edging materials ready. Use a rake, a blower, or any other suitable tool to remove debris from the work area. Lightly spray it with water to make cutting easier and reduce dust.
4. Edging: Cut, Dig, and Fill
Cut the grass along the edge with a lawn edging tool. Then, dig a trench along the marked line. The depth will depend on the type of edging material you’re using, and you can adjust the depth at any time during the edging process. Although it may seem like extra work, it’s a lot easier than adjusting it after the edging is finished.
After digging, remove clippings, extra soil and other debris one more time from the trench. And spray the soil multiple times during edging if necessary.
Finally, place the edging material in the trench when done. Ensure that it’s level and properly aligned. For irregular shapes, adjust as needed. Once the edging is in place, clean up the line. Remove any loose soil and extra materials. Depending on the edging you’re establishing, you may backfill the soil around it and compact it to secure it firmly in place.
5. Maintenance: Care and Control
After the edging is finished, there’s still work to do. Depending on the material, from time to time, you should treat wooden edging with preservative and inspect metal edging for rust. Also, check for any damage or shifting, especially after heavy rains or prolonged dry spells. Adjust as soon as possible if you spot any issues.
FAQ
What are common mistakes when edging?
People tend to make these mistakes when doing lawn edging: lack of site preparation, using cheap or incorrect materials, improper installation depth, and forgetting ongoing maintenance. Edging in the wrong way might lead to poor soil conditions and unsightly edges, wasting your time, effort, and even money.
What is the best lawn edging material?
The best lawn edging material is one that best suits your lawn and your edging goals. Metal can last and require minimal maintenance, and it gives off a sleek, polished style. Wood is robust, eco-friendly, and rustic. Stone edging is flexible, as you can choose stones of different sizes, shapes, colours, and textures, allowing you to create the style you desire for your lawn. Brick edging is also a great option for better aesthetics and longevity.
Is it better to edge a lawn when wet or dry?
It's better to edge a lawn when the soil is slightly damp. If it is dry, you can spray some water to loosen the soil. However, it should not be too wet.
Conclusion
Lawn edging significantly improves the overall appearance of your garden. You can see the lawn area, flower beds, trees, and pathways clearly. It brings exceptional kerb appeal and catches everyone's attention. You can select a suitable edging option or material. Then, by following this comprehensive lawn edging guide, you can install it effectively, promoting both the health and beauty of your outdoor space. Happy mowing and edging!