
Lawn edging makes your garden and landscape more appealing as it defines clear boundaries between the lawn, garden beds, trees, etc. Your lawn looks cleaner and well-maintained.
If you are establishing a new lawn or creating lawn edges, you might be wondering what type of edge you should create. In this article, we will explore different lawn edging ideas. We will explain different types of edging and take a look at their benefits and characteristics. It will help you select the right edging option for your garden.
Why Lawn Edging Is Important
Lawn edging can seem like a simple task or a time-consuming chore, depending on your lawn's complexity and how far you want to go to enhance its overall appearance. After all, it is an essential part of landscape design.
Needless to say, lawn edging creates a clear boundary between grass and garden beds, pathways, or driveways. Defining a boundary makes your lawn look neat by preventing grass from growing into other areas and sabotaging other plants. Also, a clear line means safety—there will be no grass or weeds on the pavements to trip you.
Additionally, lawn edging acts as a physical barrier that keeps your soil contained during heavy rain periods, when soil can be easily washed away. It also helps manage water flow, reducing surface runoff and directing water towards plant roots, so your lawn has the nutrient-rich soil to grow on.
In short, lawn edging is an important practice that enhances both the look and health of your landscaping.

8 Lawn Edging Ideas for a Beautiful Landscape
1. Metal Edging
Metal edging isn’t affected by UV light, and when it’s made from aluminium, stainless steel, or galvanized or powder-coated steel, it also stands up well to water and weather. Once installed, it requires minimal maintenance, making it a worry-free, practical lawn edging idea.
It helps create sharp, precise, and polished lines for pathways and garden beds, contributing to a modern, sophisticated aesthetic. Moreover, some metals, including copper, aluminium, and steel, can be easily bent and shaped, allowing for creative design.
Keep in mind that metal edging is a bit expensive, but it's worth it due to its long life. And it's a bit sharp along the edges, so it's necessary to create bends and rounded corners to avoid any accidents.
2. Plastic Edging
If budget is a concern, plastic edging is a cost-effective option. You may use durable, flexible plastic like PVC or HDPE, which are usually made from recycled materials, to create clean, defined borders between lawns and other areas. It typically lasts about 8-15 years, which is incredible.
Although plastic does not look as modern and sharp as metal, it is lightweight, resistant to water and rot, and can be easily shaped to create curves and lines for versatile customisation. And it is very accessible.
It's a DIY edging option. You can buy plastic edging rolls from the market. Unroll them and press them into the soil. They also have interlocks to join. You also have the option to pick your favourite colour.

3. Rubber Edging
Rubber is another cost-effective and easy-to-apply edging product. It’s flexible to move and install. It’s durable enough to withstand the weather and common wear and tear.
Rubber is also a safe lawn edging option. It’s soft and elastic, so it can reduce the risk of injuries, making it ideal for use around children’s play areas and busy paths. You can bend it easily and use it in intricate curves and edges.

4. Stone Edging
Stones are durable, natural materials that can withstand the elements over time, adding a rustic, timeless aesthetic to your lawn. Besides their decorative purpose, they create a physical barrier that keeps mulch and soil in place while stopping lawn grass and weeds from spreading.
In some cases, when you have tasks to do on your lawn, but the grass is wet and slippery, the stones can act as a foot traffic guide. Granite, limestone, and sandstone, irregularly shaped or polished, are natural and timeless usable materials available in different colours, sizes, and shapes. You may also use manufactured stones or mix with natural stones to create your garden style.
5. Brick Edging
Like stone edging, bricks are a versatile option that can be arranged in various patterns to suit your garden design. They are quite popular in the UK because of their rustic colour and clean geometric appearance.
They are sturdy and available in a variety of colours and textures, so they are very suitable for creating regular patterns, such as waves, lines, and geometric shapes. They have a low to moderate cost and can last about 25-50 years.
Brick edging usually involves digging a trench, laying a stable base of gravel and sand, and then placing and levelling the bricks into the base. It means it requires heavy manual installation, but it's worth it.
It's possible to install bricks horizontally or vertically. You can also keep the bricks half out of the soil. Some garden owners also like to place bricks at a 45-degree angle to create a sawtooth pattern.

6. Wooden Edging
For a more traditional feel, edge with wood. Compared to other materials, natural wood, be it logs, timber, or branches, tends to rot or decay over time, particularly when put outdoors to undergo weathering from wind and rain. So don’t forget to treat the wood before edging.
To treat wood for outdoor use, first, clean and sand the wood. Then, apply a wood preservative and paint or stain to protect against rot and pests. To enhance durability, apply multiple coats and seal all joints and ends.
It's an affordable option, and gardeners can adjust the shape and size of the wood as they need.
7. Living Edging
Living lawn edging uses plants, rather than artificial barriers, to define the border, creating a natural, organic look and a vibrant transition. Evergreen shrubs like box (Buxus) and dwarf juniper, flowering perennials like hardy geraniums, dianthus, and alyssum, are ideal plants for lawn edging.
Keep in mind that traditional box edging could be a headache due to box blight (a fungal disease) and the box tree caterpillar. You can go with safer alternatives like Japanese holly (Ilex crenata), Euonymus "Microphyllus", and Lonicera nitida.
The obvious drawback of living edging is that it requires more ongoing maintenance, such as clearing invasive plants and checking and removing pests. That said, for people who enjoy spending time with nature, living edging is not at all a burden. On the other hand, you may choose plants that require less maintenance, like catmint, lamb’s ears, creeping thyme, and so on.
8. Concrete Edging
The lowest-maintenance choice could be concrete edging. Once installed, it’s a permanent thing, unless you have to change the layout of your lawn or house.
Normally, you need to dig a trench, create a solid foundation, pour concrete and then shape the edges with special tools before the concrete hardens completely. Concrete edging makes clean borders and prevents the edges from chipping due to traffic, human interaction, or environmental factors.

How to Edge a Lawn
Now that we have looked at the materials, here is a quick guide on how to edge your lawn effectively.
Step 1: Prepare and Define the Edge
Before starting, determine where you want to create your edges. Where do you want the garden beds to be?
Once defined and edged, it may be difficult to redo it, so take your time. You may discuss with your family or even consult a garden designer before making the decision.
Use a string or garden hose to outline the desired shape and design. You can follow it without much hassle. You can also mark the outline by sprinkling flour or using spray paint to create a clear boundary.
Step 2: Mow the Lawn
Before edging, you should mow the grass and clean debris. Shorter grass is much easier to clean and trim during edging.
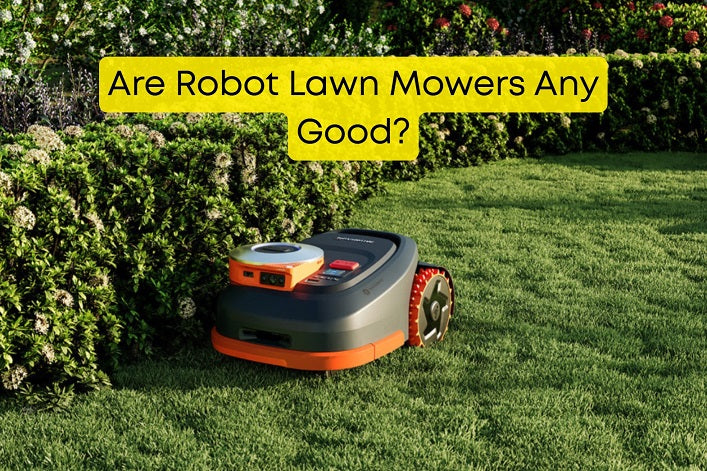
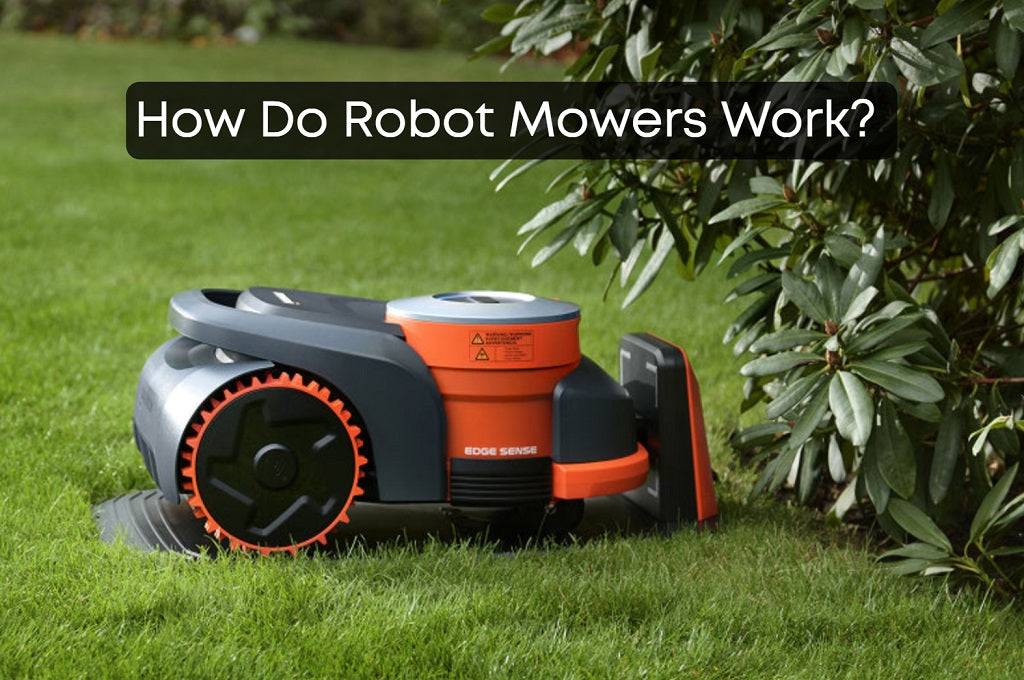
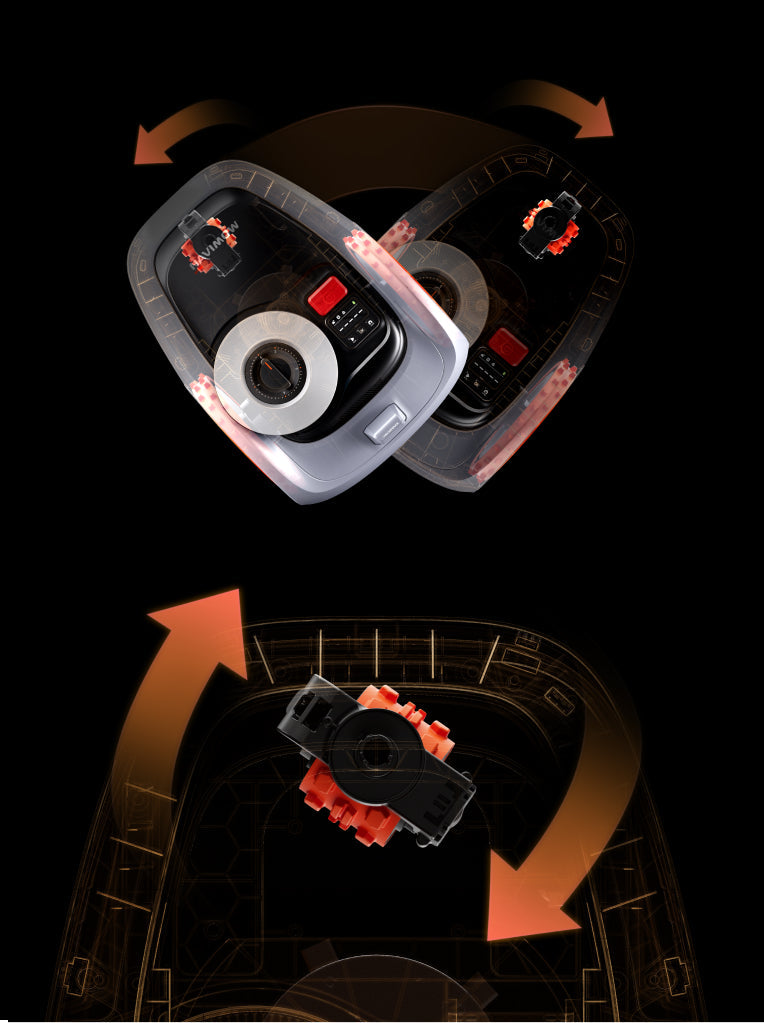
By the way, using a robotic lawn mower can free you from manual and time-consuming mowing. You can set a schedule to let the robot mower do the mowing before you make time for the elaborate edging.
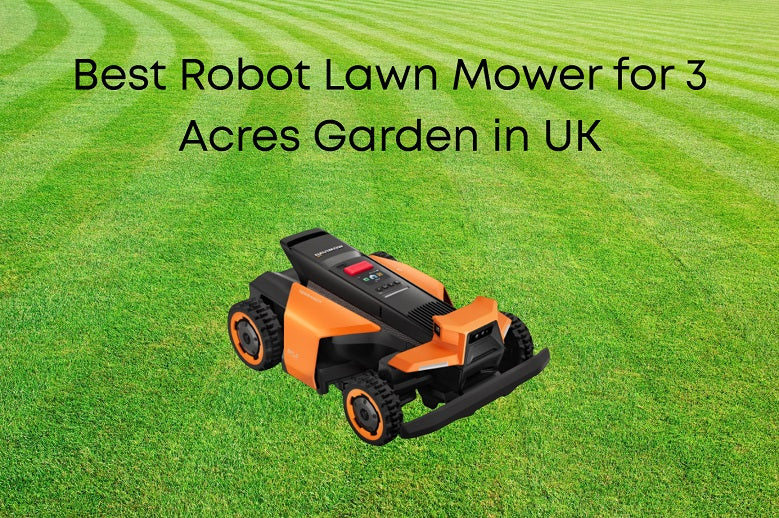
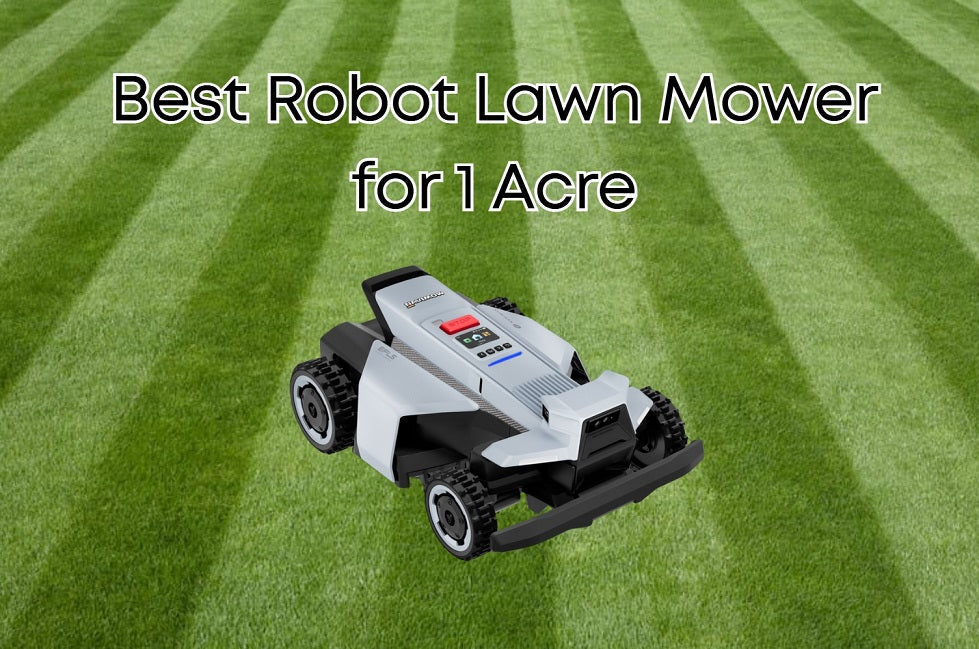
If you have a small lawn, you can go with Navimow i2 AWD. It's a compact mower with AWD (All-Wheel Drive), XeroTurn™, and advanced navigation (NRTK and Vision). For a bit larger and more complex lawns, Navimow H2 is an excellent option. It uses an AI triple fusion system to navigate precisely and flawlessly mows every part of the lawn along with the edges.

Step 3: Choose the Right Tools
You need a lawn edging tool to create edges. Primarily, you have two options: a manual or power edger. For a small lawn, a manual edger is enough. You can use a half-moon edger to cut through the grass and soil.
A power edger is good for large lawns. You can also rent one if you don't have it. It will help create the edge much faster.
Depending on the lawn edging idea or method you have chosen, you might need to do a lot of manual labour, such as digging a trench or laying a sturdy sand base. For instance, in the case of brick edging, you need to remove the soil, and you use sand to make the ground stable before laying bricks.
A strimmer might be needed for clearing and general-purpose trimming where the edger can’t reach.

Step 4: Start Edging
When mowing is finished, use an edger to cut along the desired line. If using a manual edger, push down firmly and wiggle it back and forth to cut through the grass and soil.
For a power edger, follow the manufacturer’s instructions. During operation, keep your movement steady and straight for an even edge. A string line or a plank of wood can be used to guide your path.
If you need to dig a trench, use a spade to dig it along the marked line. Adjust the depth according to the edging idea. After digging, remove clippings, extra soil and other debris from the trench.
Once you are done with the preparation, you can lay the edging material, such as bricks, concrete, or stones. If you are using rubber or steel, you need to push it into the ground to secure it. Level the edges properly and secure everything in place.
Step 5: Clean Up
Once done with edging, use a rake to collect and remove any loose grass clippings and debris; otherwise, your lawn will look like a mess. Then you might water your plants and the surrounding grass to keep them healthy. By the way, don’t forget to clean up the tools you’ve used for edging.
FAQs
What are the common mistakes when edging?
Commonly seen mistakes include choosing the wrong edging material and incorrect edging installation depth. Be sure to take your time to figure out what kind of edging you would like to set up and fully prepare before you start.
When should you start edging your lawn?
You can edge your lawn whenever you want. But spring and summer are good times for lawn edging. And you should edge regularly to keep the grass out and keep the boundary clear.
Do I mow first or edge first?
Mow the lawn before edging. Mowing can get rid of most unnecessary grass, so when it comes to edging, you can deal with a lot less cleanup.
Conclusion
Choosing the right lawn edging can significantly enhance the overall look and functionality of your garden. Consider the style, budget, and maintenance requirements when selecting your material. Hope these lawn edging ideas can help. Whichever option you choose, well-defined edges will emphasise your garden design and keep your garden tidy and beautiful.