
Lawn owners plant new grass seeds to repair patches and make bare areas green again. But often, grass seeds fail to germinate because of incorrect planting, inconsistent moisture, wrong temperature, and various other issues.
As a lawn owner, you should master the art of planting grass seeds to keep your lawn lush and green year-round. All it requires is the right planting method and care to ensure incredible results.
We have made this comprehensive guide to teach lawn owners how to plant grass seeds the right way. We will share the step-by-step process that even beginners can easily follow. From soil testing to preparation and planting seed to special care, this guide covers every detail.
Step 1: Select the Right Time
Timing is extremely crucial. You have to plant grass seeds at the right time. Otherwise, it's putting money down the drain.
The perfect window for planting cool-season grass seeds is Autumn, which is late August to mid-October. The primary reason is that cool-season grasses grow aggressively in the autumn. The soil is warm enough for germination, while the air is cooler than in summer. Thus, there is no heat stress to prevent sprouting.
Another option for planting cool-season grass seeds is the spring. You can do it from late March to early May. As soon as the soil temperature stays above 10°C consistently, you can start seeding.
Soil temperature is the key to finding the right time to plant seeds. Use a digital temperature meter to measure the soil temperature. When it stays consistently in the recommended range, you can plant seeds without any worries.

Step 2: Pick Your Seed
There are plenty of options when it comes to selecting grass seeds. UK lawns are mostly filled with cool-season grasses because of the favourable temperature and climate.
Standard seed options are Perennial Ryegrass, Red Fescue, Common Bent, and Smooth Stalked Meadow Grass. You also need to consider the grass texture, growth habit, drought tolerance, maintenance level, wear tolerance, etc.
For family and home lawns, dwarf perennial ryegrass is a great option. If it's an ornamental or fine lawn, you can go with chewing and slender creeping red fescue. But if your lawn gets excessive shade, the best options are wood meadow-grass, hard fescue, and red fescue.
Step 3: Calculate the Seed
Once you have decided on the variety, it's time to calculate the grass seeds you need. Firstly, measure the area you want to seed.
If there are multiple bare areas and patches, calculate the area of each and add them. If you want to seed the whole lawn, you can divide it into small rectangles and calculate the total area easily.
Once you have the total area, it's quite easy to calculate the amount of seed you need. The seeding rate is usually mentioned on the seed bag.
For instance, if the seeding rate is 35 g/m² and the lawn area is 500 m², it means you need 17.5 kg.
You can use this simple formula to calculate.
Amount of Seed (kg) = Area (m²) x Seeding Rate (g/m²) / 1000

Step 4: Test the Soil
Before you overseed the lawn, it's better to test the soil. If there are any issues with the soil, you will get to know about it at the right time. Otherwise, your effort might go in vain.
You can check the pH levels and macronutrients in the lawn. For pH level, you can use a DIY test kit. A better option would be a digital pH meter probe.
The pH of the lawn should be between slightly acidic and neutral, which means 6.0 to 7.0. If the pH is too high or too low, it leads to nutrient lockout. The grass roots won't be able to absorb nutrients despite their availability. You must fix the pH levels before seeding.
For macronutrients (Nitrogen, Potassium, and Phosphorus), DIY kits are available, but a reliable option is lab testing. It takes some time, but it is worth it. It also tells you the measures you need to take if there is any issue. You can plan to test a few weeks before planting.
If your lawn has a shortage of any macronutrient, you can pick a suitable fertiliser for that. It will improve seed sprouting and support growth.

Step 5: Clean and Mow the Lawn
Clean the lawn before seeding. Get rid of the leaves, rocks, twigs, branches, toys, and other foreign objects in the lawn.
The lawn area must be clean and clear, ready to take action. If there are weeds in the lawn, you should remove them by hand. Take them out of the soil.
After cleaning, you need to mow the lawn. It's best to cut the grass a bit shorter than usual. It ensures enough sunlight reaches the new seeds.
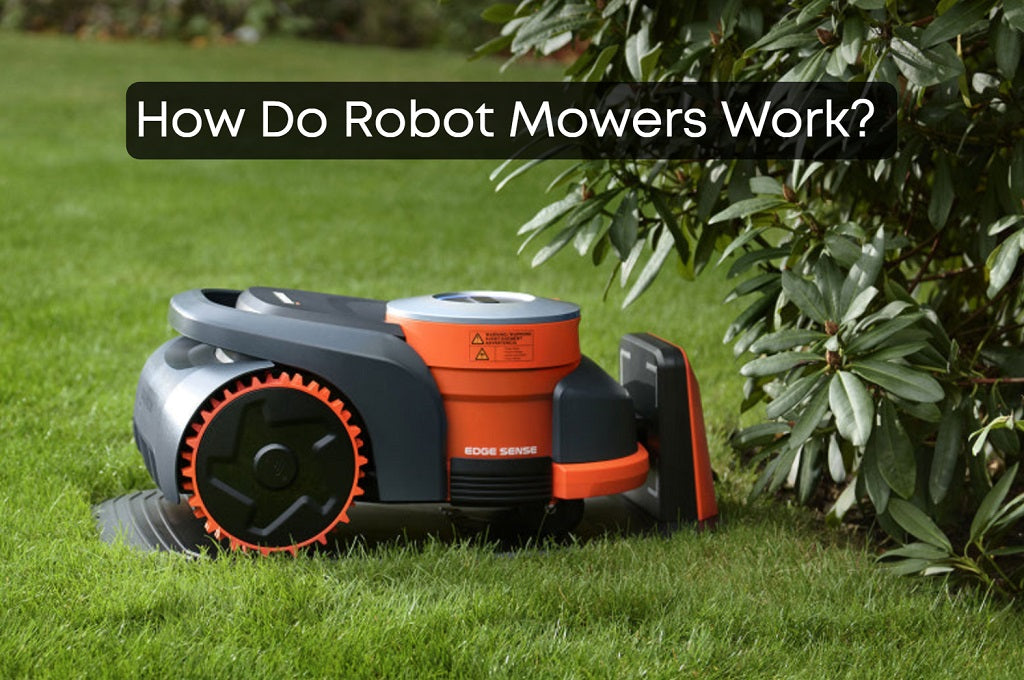
You can use a Navimow robot lawn mower. Set the desired height and time to mow the lawn, and it will automatically mow everything for you. It will save you time so that you can focus on other steps and prepare for seeding. Secondly, it precisely cuts every area to ensure even germination results.

Step 6: Scarify and Aerate (If Needed)
Thatch is the layer of dead organic matter over the soil. It accumulates over time, and when it goes more than 1.25 cm, you should consider lawn scarification.
If the thatch layer is thick and you don't scarify, the grass seeds will be caught in the thatch layer and won't reach the soil. Eventually, they will not germinate.
Even if the seeds reach the soil, the thatch layer will deprive them of water. It will soak up the water you provide to the lawn. Moreover, it will block oxygen and nutrient flow. The seeds won't be able to breathe and get the nutrients they need.
Therefore, it's better to remove the thatch layer first and then proceed to the next step.

Once the lawn has been scarified, check for soil compaction. It's another problem that blocks the passage of air, water, and nutrients from reaching the seeds and the grass roots.
Compacted soil does not have any pores or air pockets. Its particles are tightly packed. That's why the seeds won't be able to germinate. Their delicate roots cannot grow in tight soil.
Lawn aeration is the technique used to reverse soil compaction. During this process, the plugs or cores are removed from the soil. Thus, a cavity is created, which loosens the soil and creates a passage for air, water, and nutrients.
The process is extremely beneficial for seeding. Firstly, when you seed after aeration, the seeds have better contact with the soil. The seeds go into the cavity/holes, which ensures higher germination rates. Secondly, the nutrients and water that you provide the lawn reach the seed. It also promotes the deep rooting of the grass.
To check if the soil is compact or not, use a screwdriver to push it into the soil. If it glides easily, it means the soil is fine. But if you need to exert your body weight or too much pressure to push 5 to 10 cm, the soil is compact.

Step 7: Add a Pre-seeding Fertiliser
A pre-seeding fertiliser helps in the root development of new seeds. Unlike normal fertilisers, it's high in phosphorus. It releases nutrients slowly, which promotes the development of new seeds and does not harm them in any way.
But if your lawn is suffering from extreme nutrient deficiency, you should act accordingly. The lab test reports recommend how to solve the issue. You can go in that direction to improve the soil's nutritional content.
While choosing a pre-seeding fertiliser for your lawn, make sure to opt for a seeding-safe option. Often, fertilisers contain weed killers that can also kill your grass seeds.
Step 8: Spread the Seeds
We have prepared the ground, and now, it's time for seeding. You are ready to plant new grass seeds in your lawn.
You can take a seed spreader and spread seeds in the lawn. It's important to adjust the dial appropriately. You can use the spreader on the pavement to get an idea.
The goal is to ensure even coverage on the lawn. It's better to seed the lawn twice. Firstly, use half of the seeds and go horizontally all over the lawn. Then, use the other half and cover the lawn vertically.

Step 9: Roll Over Seeds
Spreading seeds on the lawn doesn't mean you are done. You have to ensure optimal seed-to-soil contact. Otherwise, the seeds can change their position because of wind, and birds might eat them before germination.
The best way to improve seed-to-soil contact is to use a lawn roller. Use the roller over seeds, and its weight can push them into the soil. If you have a lawn roller, that's good. Otherwise, you can rent one.
Further reading: How to keep birds from eating grass seed?
How to Take Care of the Planted Seeds?
Grass seeds might fail if you don't take care of them. They are the baby seeds, so they need extra care and attention. Here's what you should do.
Water Properly
The most important thing is watering, and this is what many lawn owners do wrong. Grass seeds need to stay moist. You have to ensure the 2.5 cm top layer of the soil remains consistently moist.
If you fail to keep the soil moist, the seeds will die. Even one dry spell is enough to kill them, and there is no way to revive them. Thus, it is extremely crucial to keep the soil moist as it keeps seeds alive.
You may need to water 2-3 times a day. Water frequently but not deeply. Just a little spray will do the job. Do not overwater the area, as it does more harm than good.
You have to water frequently and keep the soil moist until the grass reaches 2.5 cm in height. After that, you can reduce the frequency and water deeply.
Here is our detailed guide on how long to water grass seed and how often to water grass seed.

Limit Activity
After planting new seeds, limit activity in that area. Control kids and pets, as they can harm the delicate seeds and roots.
Do not walk in that area. Let the baby seeds grow properly before walking. Even if you want to water the lawn or do anything else, maintain distance.
The First Mow
Mowing is important for lawn care, but you have to be patient after planting new seeds. You should not mow until the grass is 7.5 to 9 cm tall. Mowing early can damage delicate sprouted seeds.
When it is time for the first mow, make sure the blades of the mower are sharp. Dull blades will tear the grass tips and increase the chances of diseases.
Secondly, follow the one-third rule for mowing. Do not mow more than one-third of the grass at once, as it puts the grass under stress. After the first mow, you can start mowing on a regular basis to maintain the recommended grass height.
The best way to mow the lawn regularly is "Automation." People often struggle to find time for lawn mowing, and this makes their lawn overgrown. At the same time, bad mowing habits deteriorate the lawn's health.
It's better to get a robot lawn mower. Schedule the mowing time and set the height, and the mower does everything on its own. It saves you from the hassle of pushing a mower. These mowers are extremely lightweight, so you don't have to worry about soil compaction. Secondly, they have sharp blades to offer clean cuts.
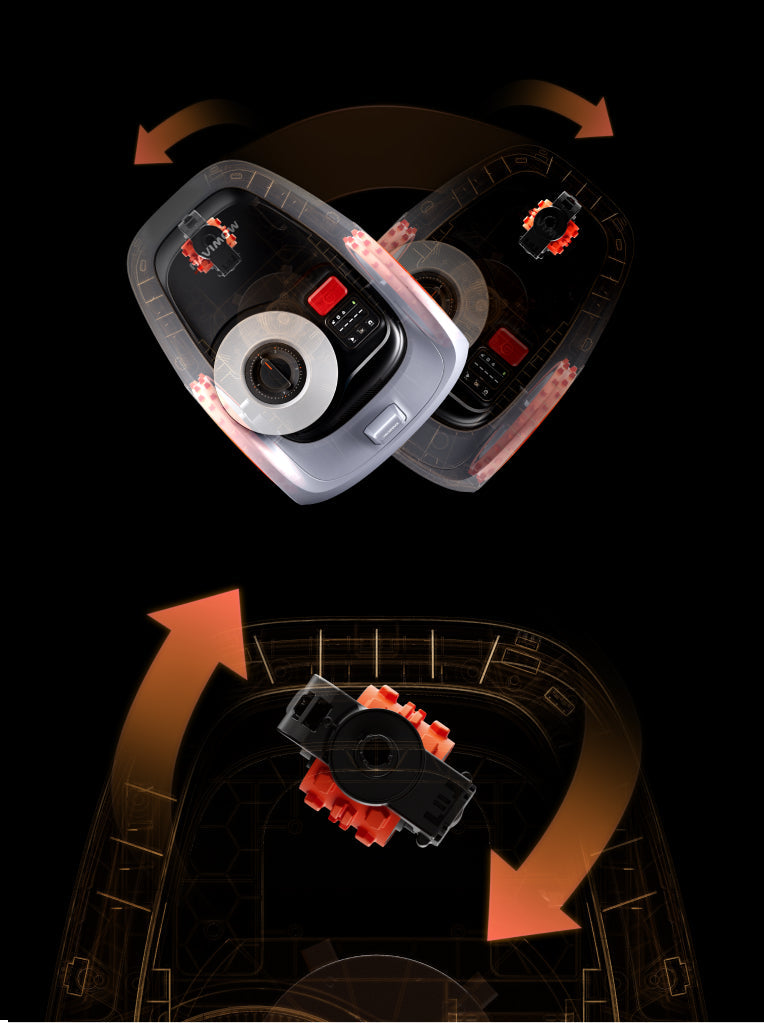
For a small lawn, the Navimow i2 AWD is perfect. It's equipped with an advanced All-Wheel Drive (AWD) system that allows it to work on difficult terrain. Plus, it features Xero-Turn™, which allows the mower to make a 180⁰ turns at its position. Other than that, the mower uses NRTK and vision technologies to navigate with accuracy. It can detect 150+ obstacles with VisionFence™ and ensure safe mowing.

Final Words
Planting grass seeds is easy, and you can achieve excellent results. But you have to follow the right process. Beginners make various mistakes, such as planting at the wrong time, ignoring soil issues, and letting the soil dry out. That's why the seeds do not germinate. This comprehensive guide on how to plant grass seeds shares the step-by-step process you can follow to plant seeds in your lawn and make it green again. Once you have planted seeds, take care of watering, foot-traffic in the lawn, and mowing to enjoy healthy grass.